Adobe Photoshop is one of the most powerful tools for creating custom design projects, making it an excellent choice for funeral program templates. Unlike word processors or presentation apps, Photoshop allows for full control over imagery, typography, and layered elements. This makes it ideal for designing a polished, professional, and highly personalized memorial program. With careful setup, you can build a reusable template that reflects your loved one’s memory while offering flexibility for future use.
Step 1: Set Up the Document
-
Open Adobe Photoshop and select File → New.
-
Choose Letter Size (8.5 x 11 inches) as your document dimensions.
-
Set the resolution to 300 DPI for print quality.
-
For a bifold program, use landscape orientation (11” width x 8.5” height). This allows you to fold the page into four panels.
Tip: Create guides to mark the fold lines by going to View → New Guide Layout and dividing the page into two equal halves.
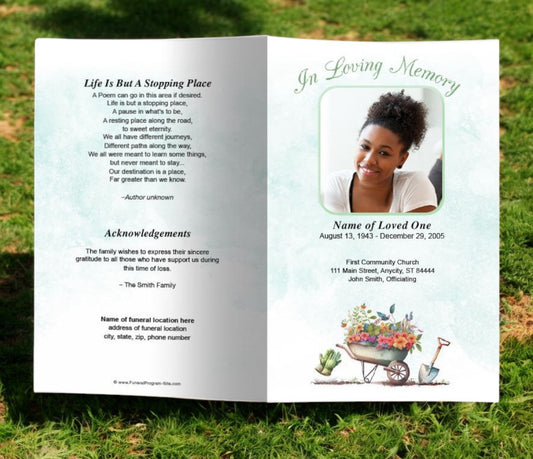
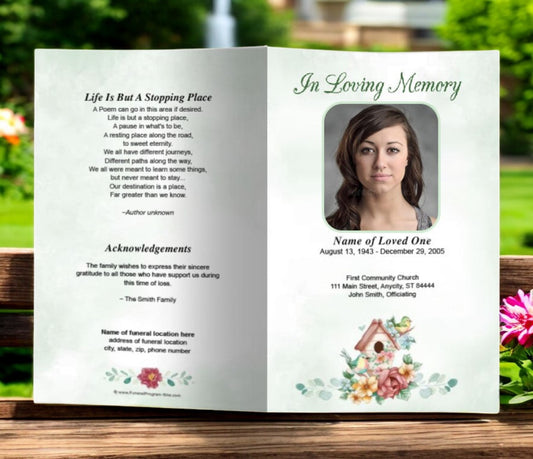
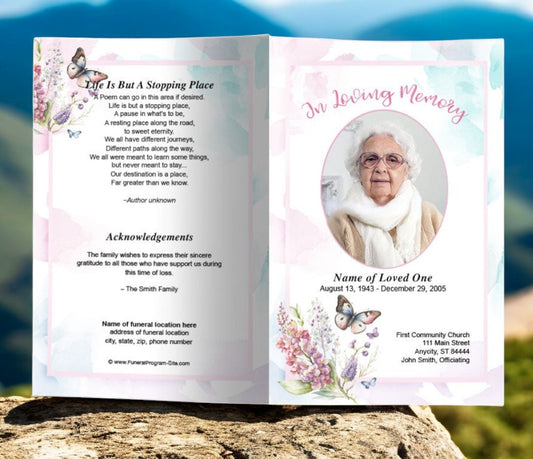
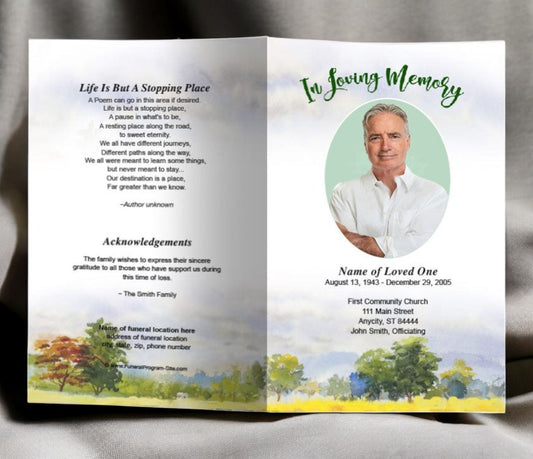
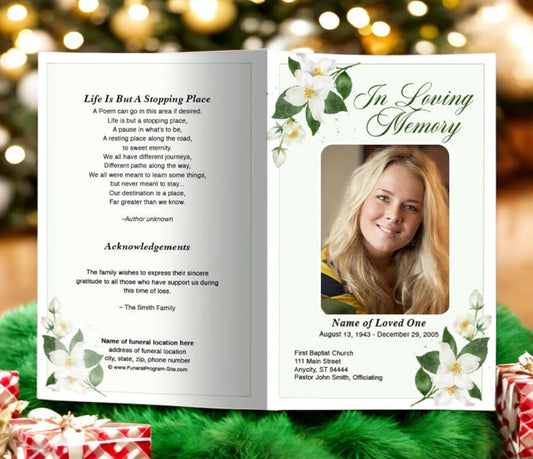
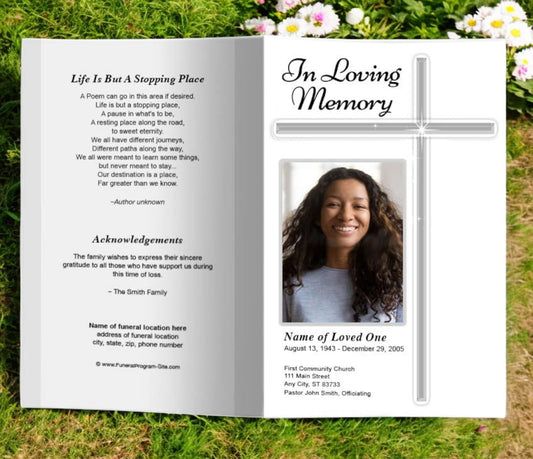
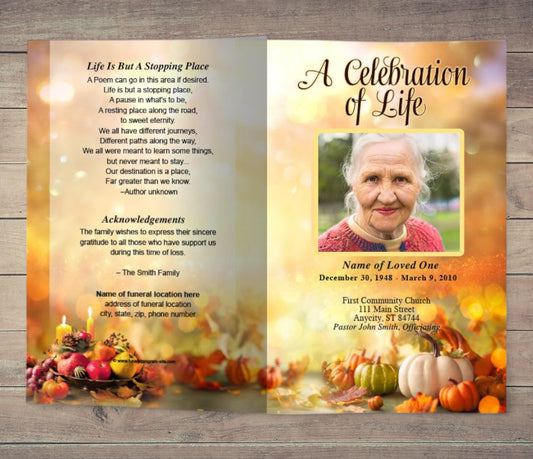
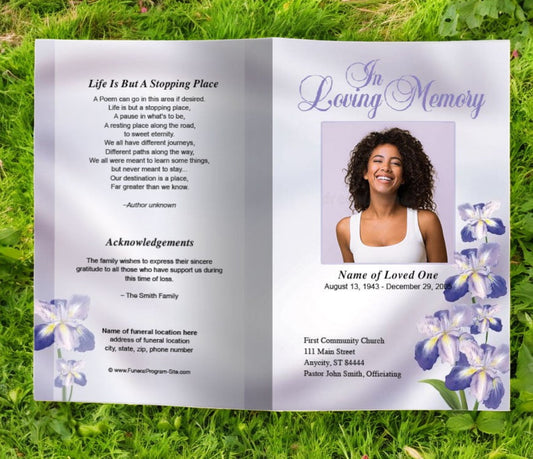
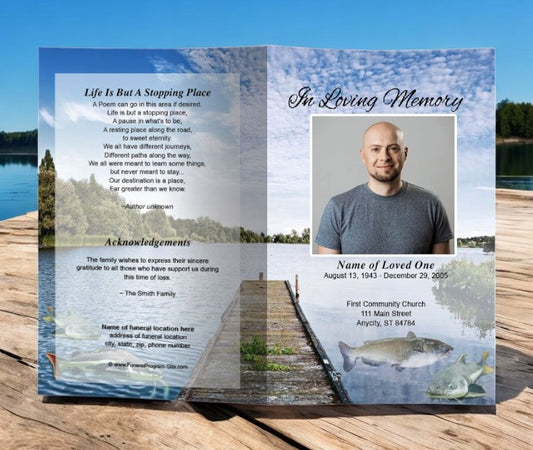
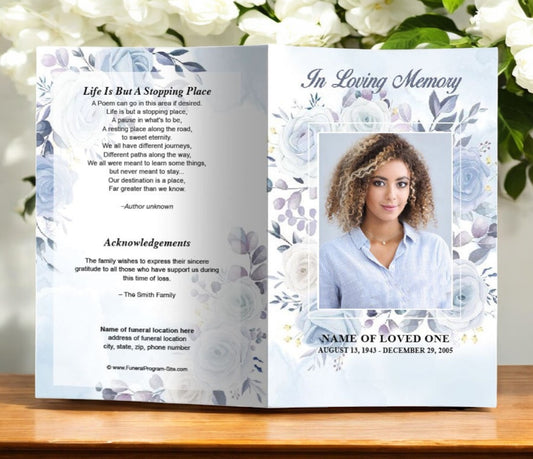
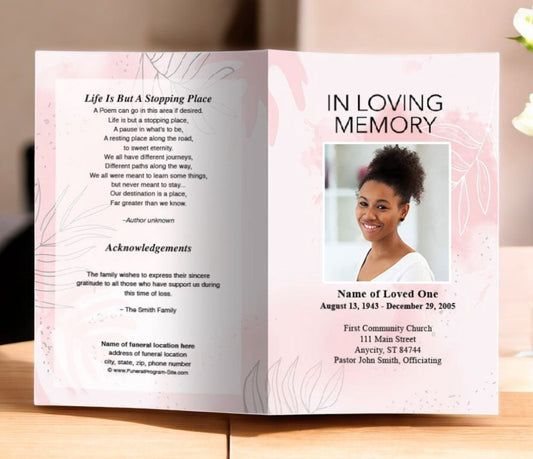
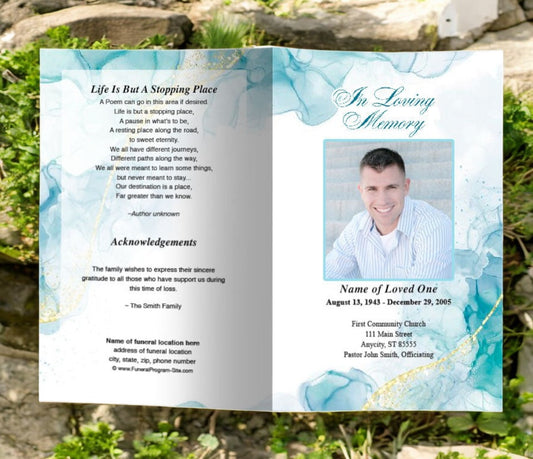
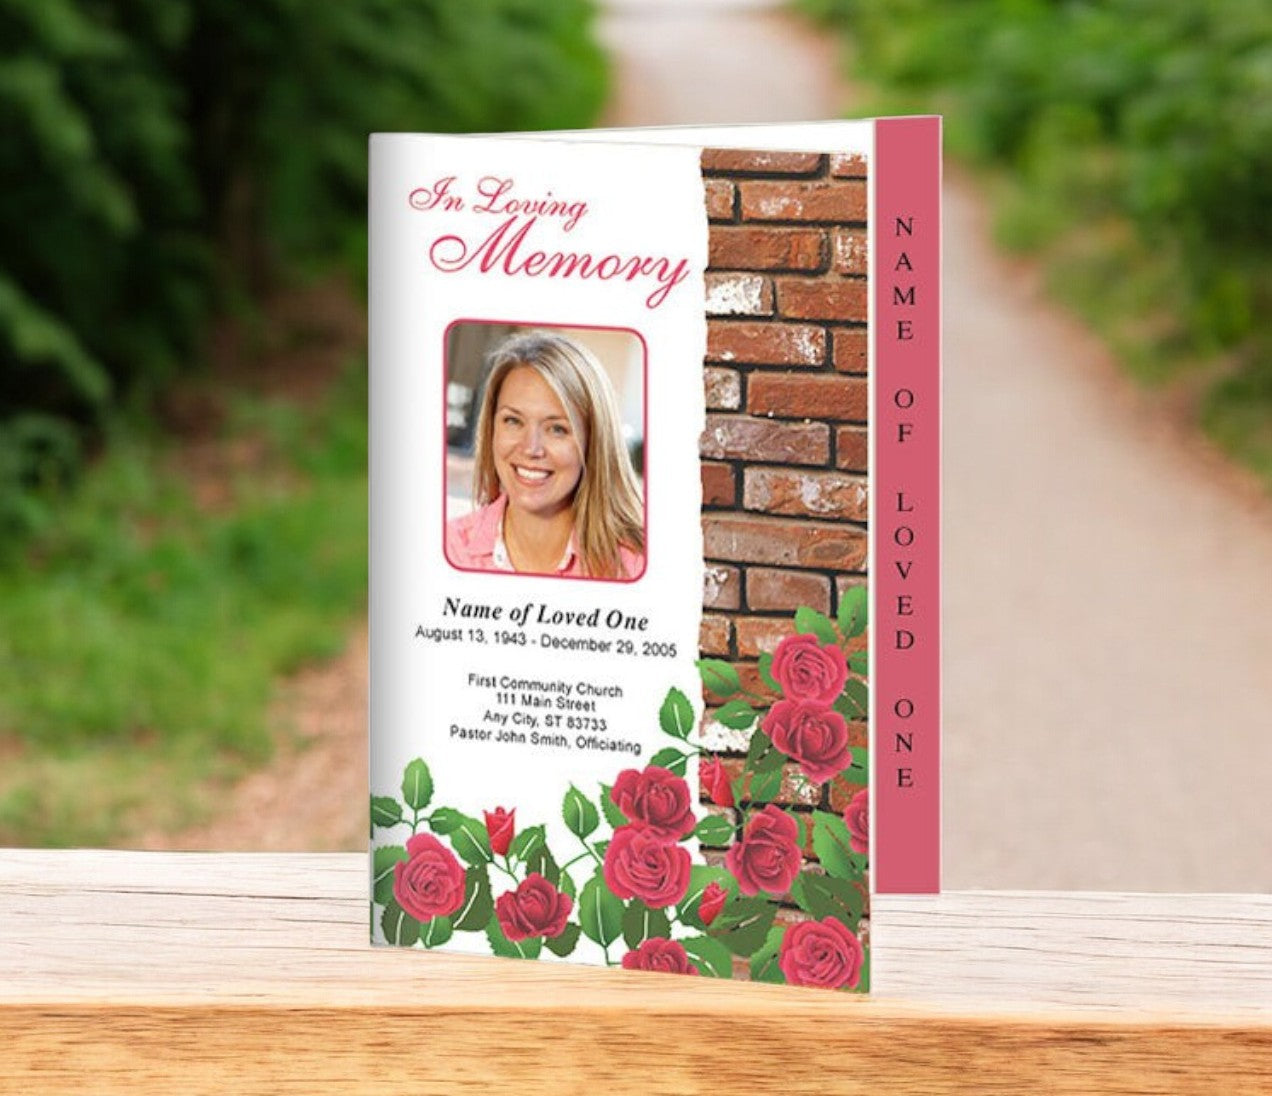
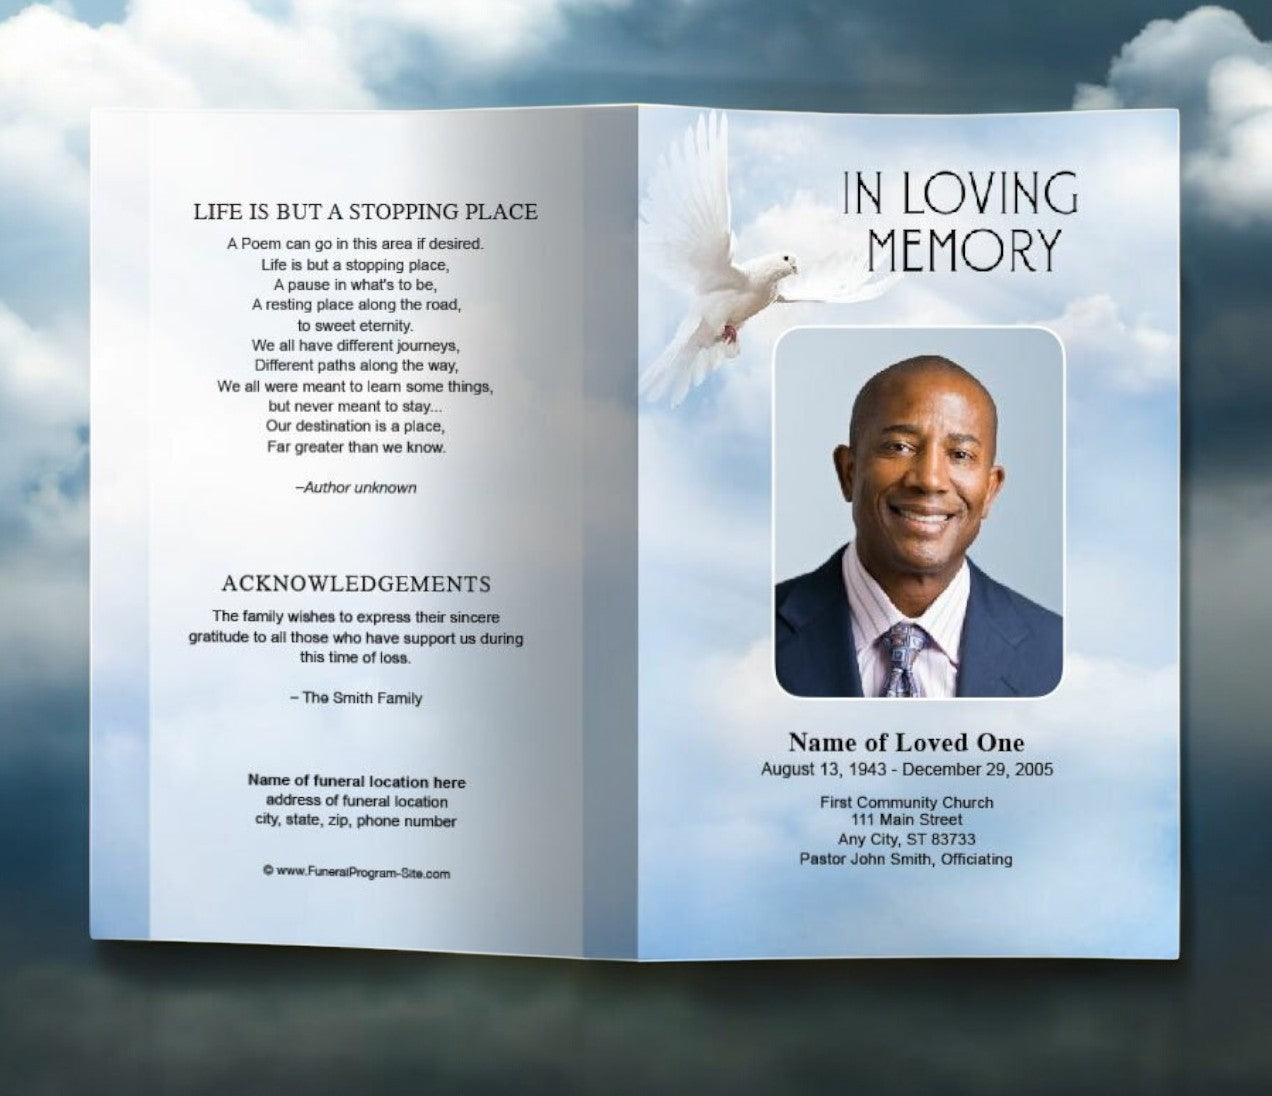
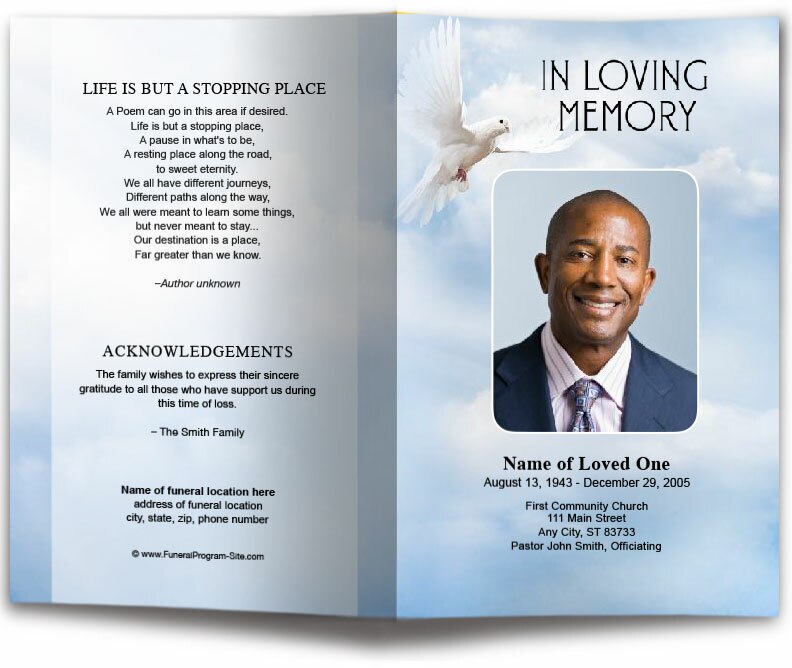
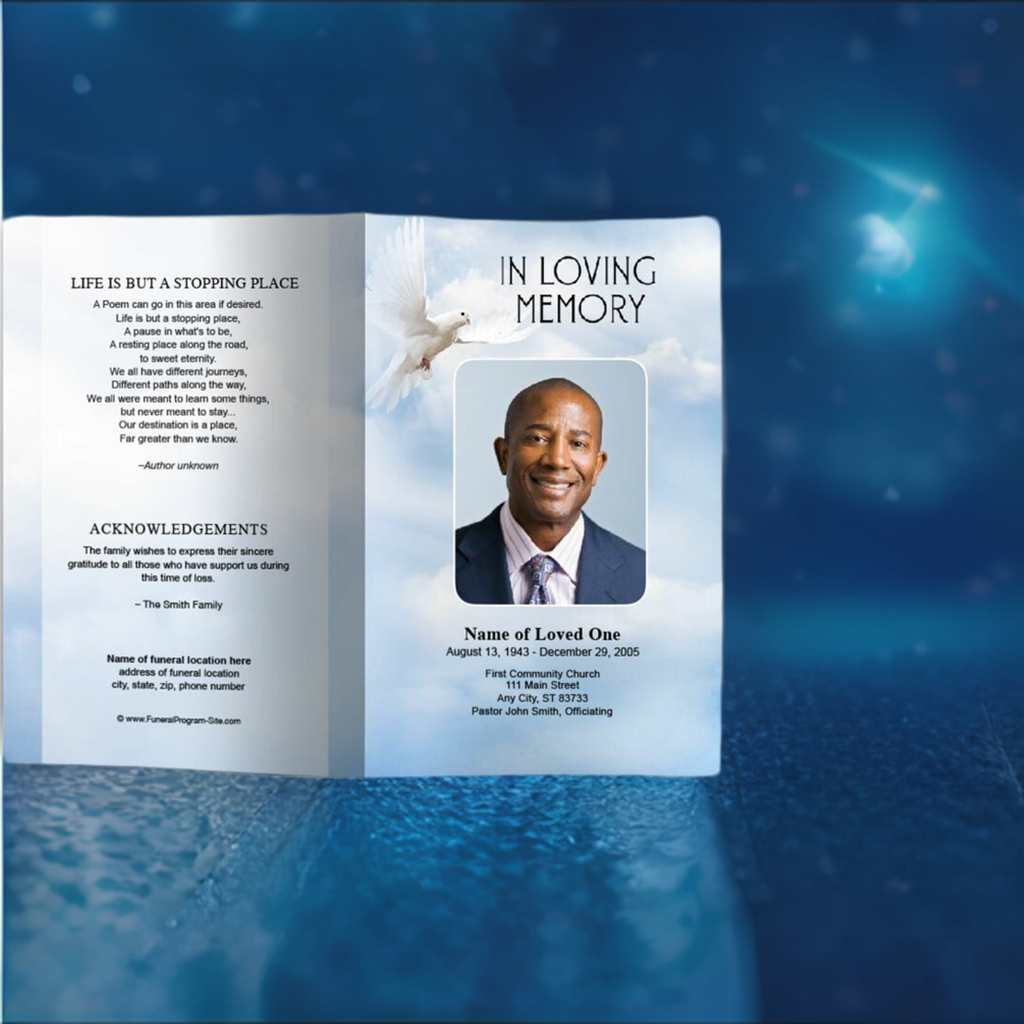
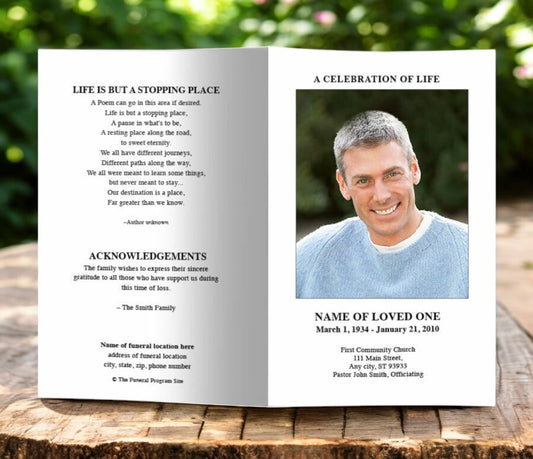
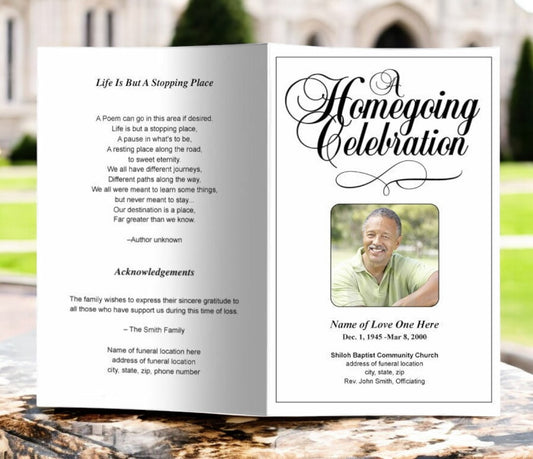
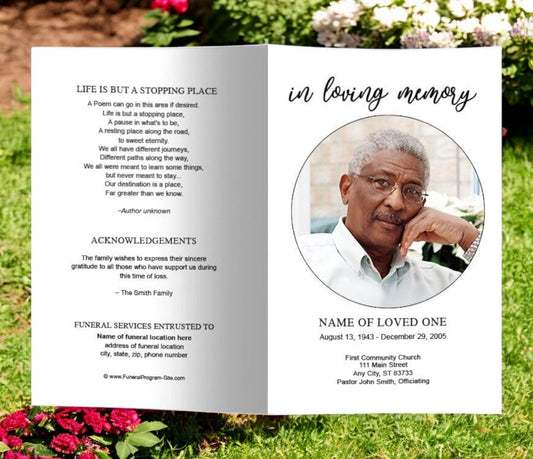
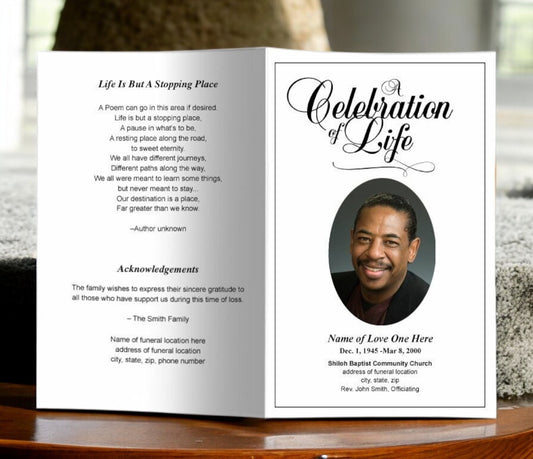
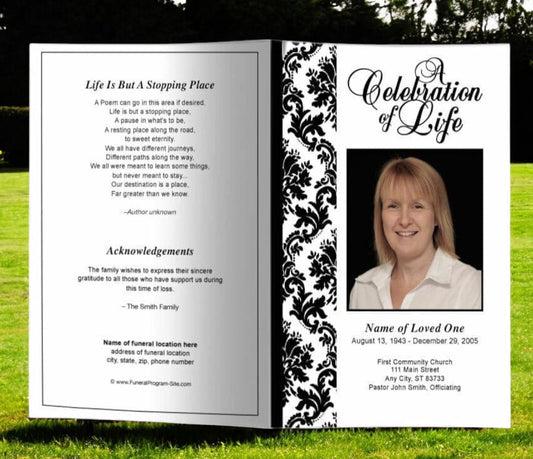
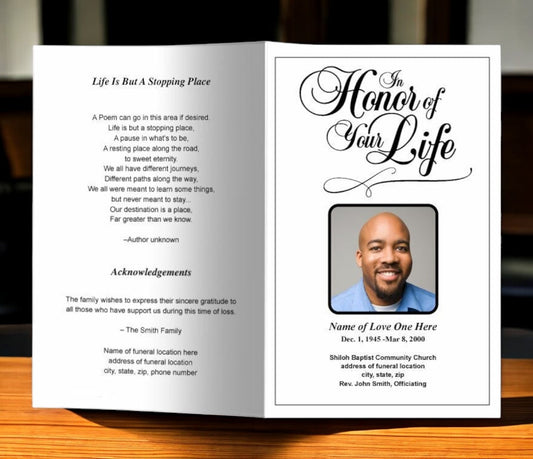
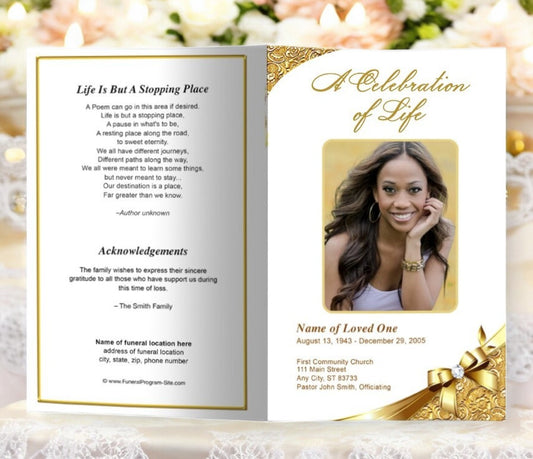
Step 2: Create the Front Cover
The right side of the first page will serve as the front cover.
-
Insert a high-resolution photo of your loved one as the central focus.
-
Add text layers for their full name, dates, and a memorial title such as In Loving Memory.
-
Use elegant fonts like Great Vibes, Edwardian Script, or Trajan Pro for headings, paired with simple fonts like Arial or Times New Roman for body text.
-
Apply subtle gradients or overlays for a soft, respectful look.
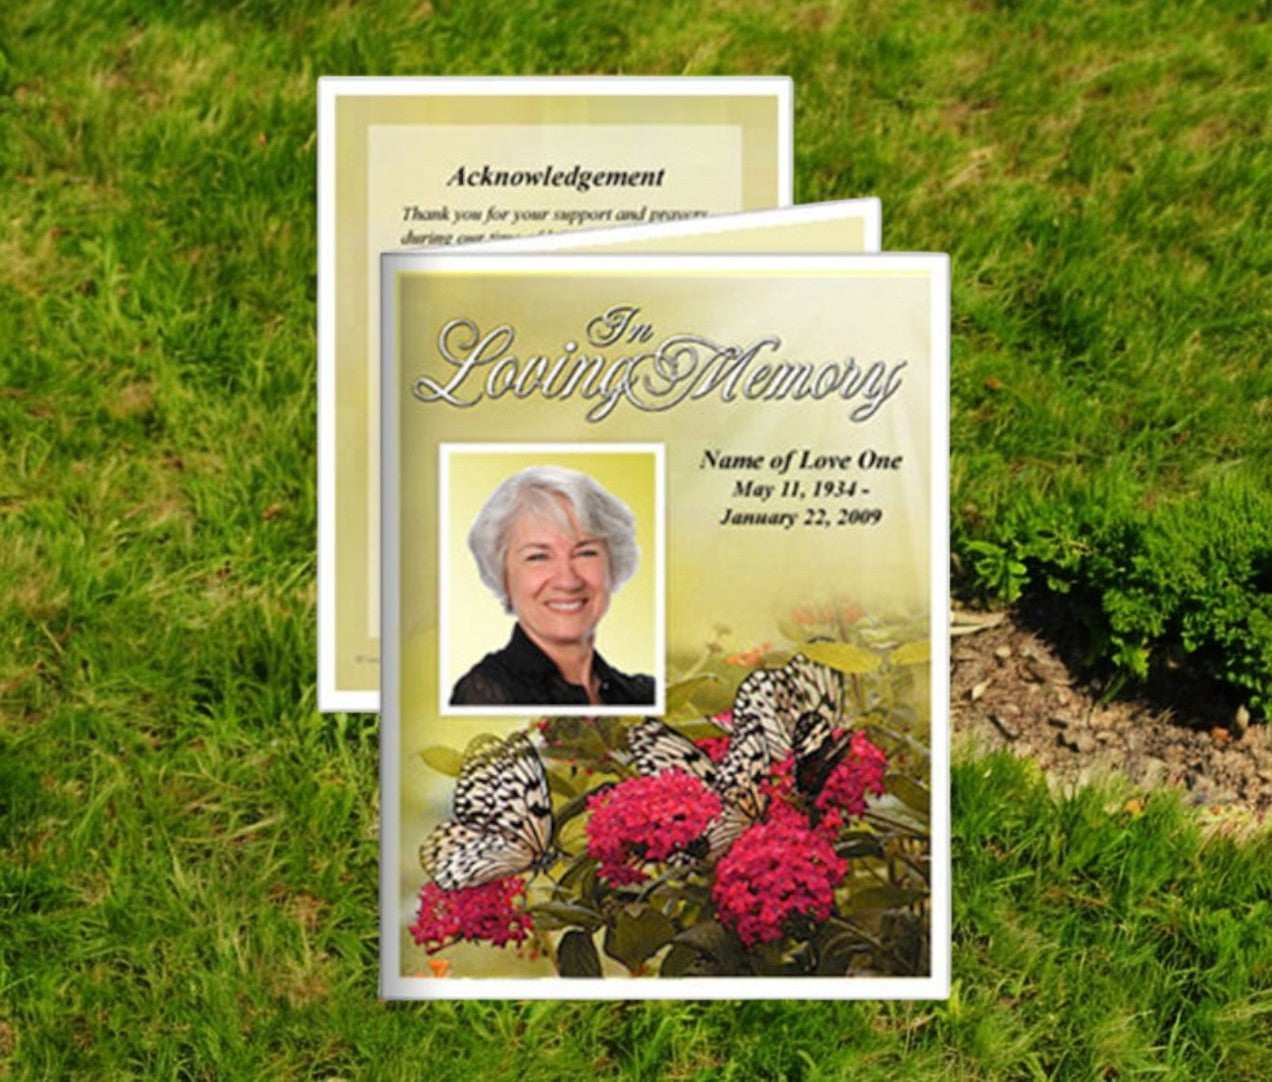
Step 3: Design the Back Cover
The left side of the first page will serve as the back panel.
-
Add a text layer for acknowledgments or a thank-you message.
-
Include reception or burial details if desired.
-
Place a small symbolic image, such as a dove, candle, or cross, with reduced opacity for a delicate effect.
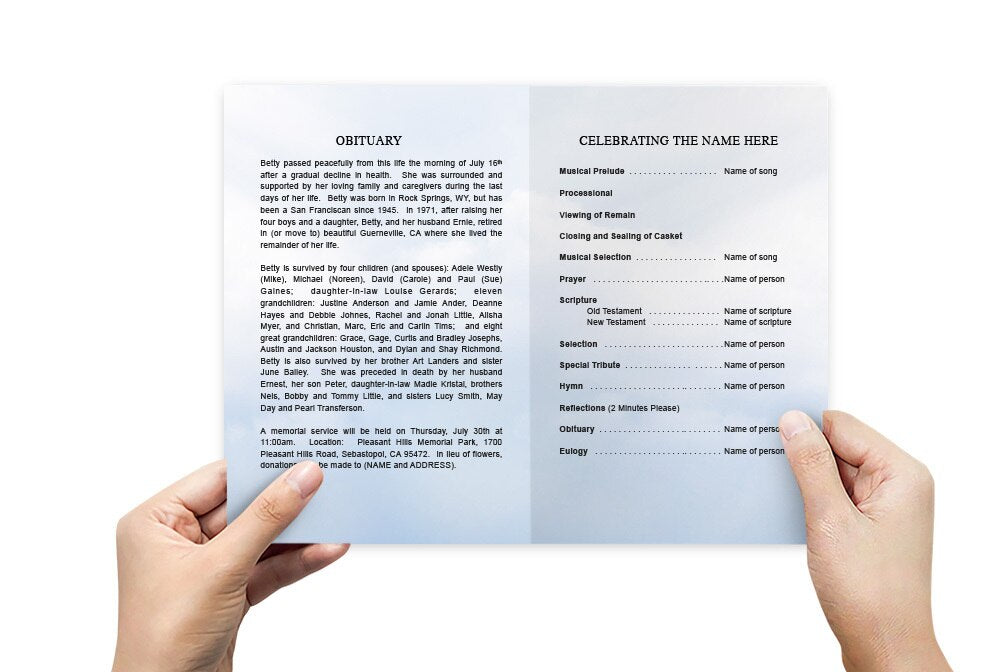
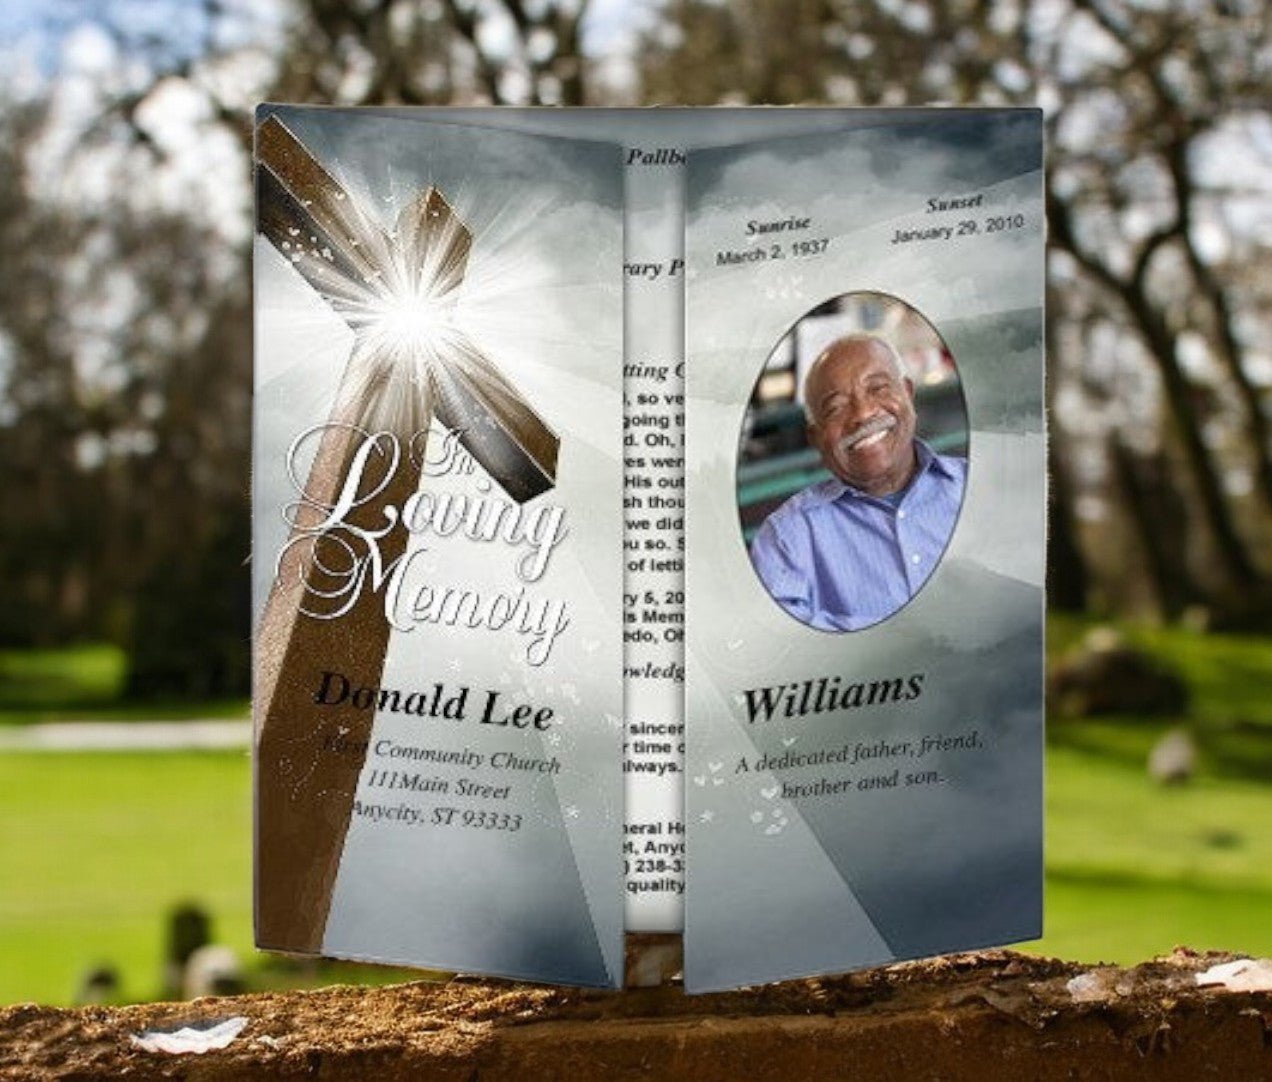
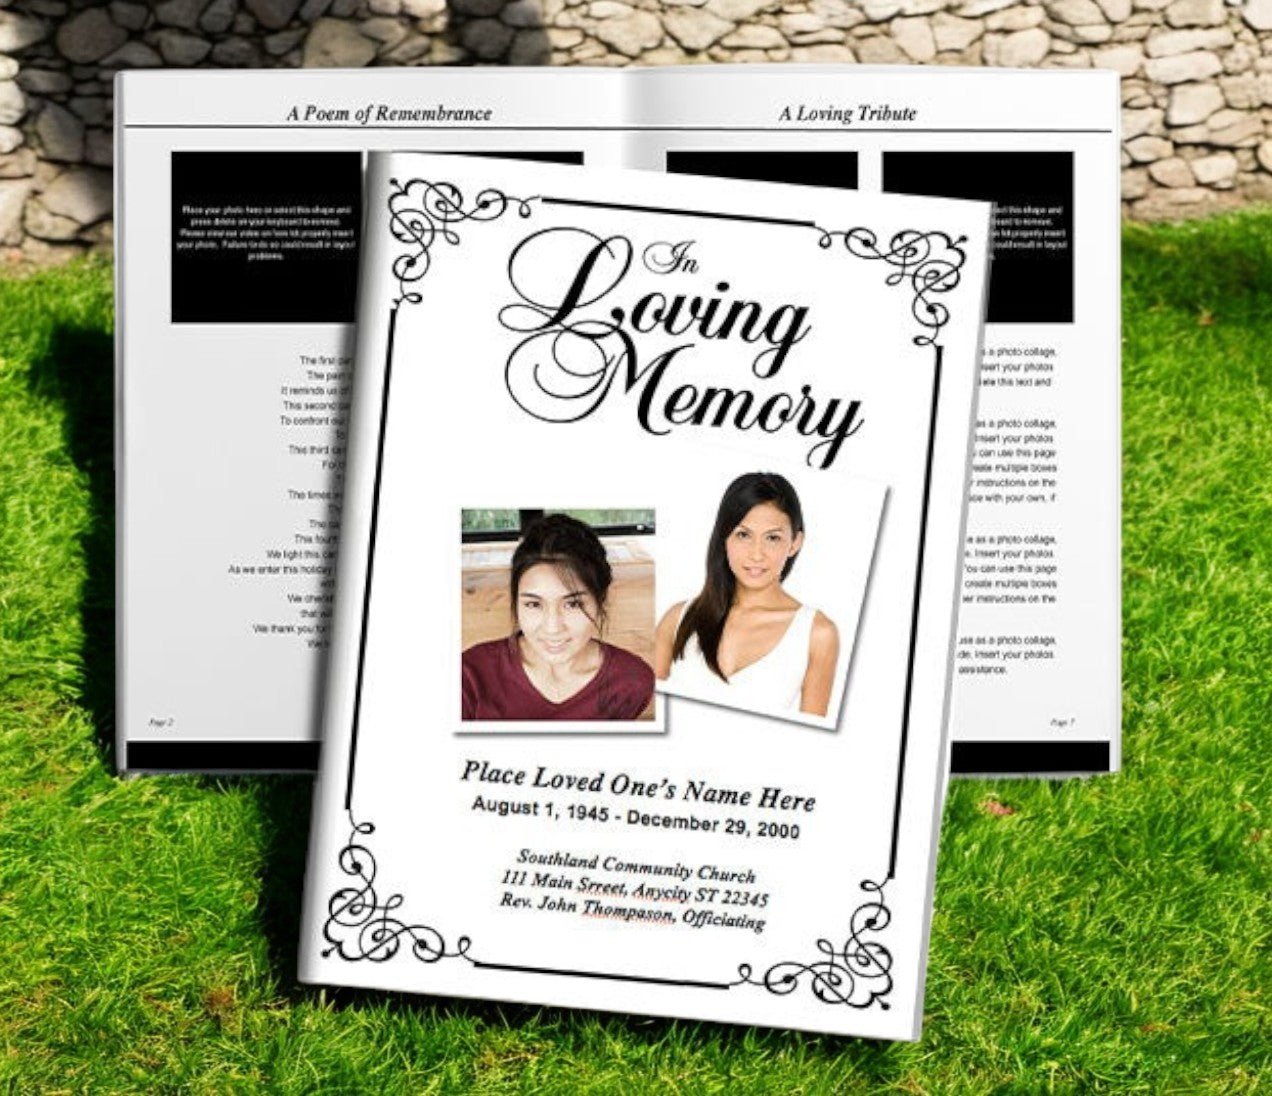
Step 4: Set Up the Inside Pages
-
Add a new Photoshop document (same dimensions) for the inside spread.
-
Divide the page into two panels using guides.
-
On the left panel, add a text layer for the Order of Service, formatting it with clean bullet points.
-
On the right panel, create a larger text box for the Obituary or Life Story, breaking content into readable paragraphs.
-
Insert additional photos, decorative borders, or patterned backgrounds as layers.
Step 5: Use Layers for Flexibility
Photoshop’s layer system is what makes it perfect for reusable templates.
-
Keep text, photos, and decorative elements on separate layers.
-
Group layers for each panel (Front Cover, Back Cover, Inside Left, Inside Right).
-
Lock background layers so they remain consistent while content can be updated easily.
Step 6: Add Decorative Elements
Enhance your template with thoughtful details:
-
Brushes: Apply floral or soft texture brushes for subtle backgrounds.
-
Shapes: Insert rectangles or lines to frame text sections.
-
Layer Styles: Use drop shadows, bevels, or gradients for photo frames.
Keep embellishments understated so they do not distract from the text and photos.
Step 7: Save as a Template
-
Save your working file as a .PSD with all layers intact.
-
Export a flattened PDF for printing or sharing.
-
Store the PSD file in a dedicated folder so you can easily update names, dates, and photos for future services.
Step 8: Print the Program
-
Print at home on heavyweight paper (28–32 lb. or cardstock) for durability.
-
For larger quantities, export your program as a PDF and bring it to a professional print shop.
-
Fold carefully along guides for a clean finish.
Final Thoughts
Adobe Photoshop gives you the freedom to design a funeral program template that is both professional and deeply personal. By setting up your document correctly, organizing content into layers, and saving a reusable PSD template, you can create a program that beautifully reflects your loved one’s memory. Once completed, the file can be exported for high-quality printing or shared digitally as a keepsake.
For more guidance and resources, you can visit: